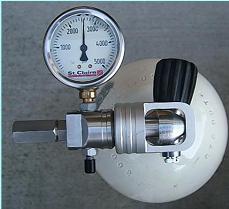
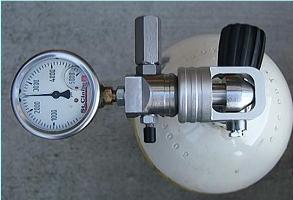
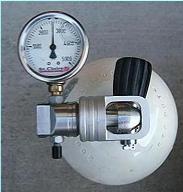
Used as a Scuba Tank Filler Yoke
any of the 3 Ports 7/16 20 can be configured to accomodate left or right handed operator
the air supply can come from left , right or inline
the Quick Bleed can be placed left , right or inline
the Pressure Gauge can be placed left , right or inline
Left and Right have a check valve
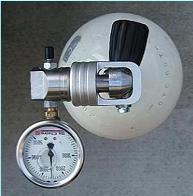
designed for Anthony's Key
which allow them to fill 2 banks
of 10 tanks using only:
1 Master Fill valve
& 1 Master Bleed valve
saving them countless hours
reducing hands & arms injuries
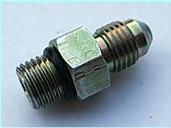
Mount Valves on Yoke:
( Quarter Turn, Sherwood )
( Check Valves )
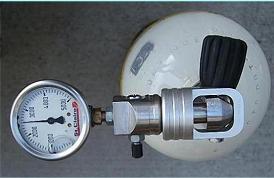
Used as a Scuba Tank Pressure Tester
any of the 3 Ports 7/16 20 can receive a Pressure Gauge, a Quick Bleed, a Test Gauge for calibration
Will also accept most submersible pressure gauges 7/16 20 thread with O-Ring 012 or 011
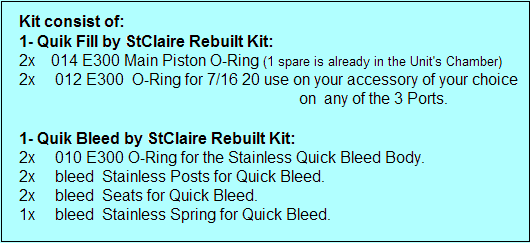
Kit consist of:
1- Quik Fill by StClaire Rebuilt Kit:
2x 014 E300 Main Piston O-Ring (1 spare is already in the Unit's Chamber)
2x 012 E300 O-Ring for 7/16 20 use on your accessory of your choice
on any of the 3 Ports.
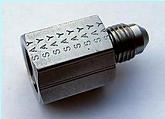
1- Quik Bleed by StClaire Rebuilt Kit:
2x 010 E300 O-Ring for the Stainless Quick Bleed Body.
2x bleed Stainless Posts for Quick Bleed.
2x bleed Seats for Quick Bleed.
1x bleed Stainless Spring for Quick Bleed.


It takes about 2 to 5 minutes to overhaul the Quick Bleed !!
and same amount for the Quik Fill Pneumatic Yoke from StClaire
- Unscrew the whole Quik Bleed Assembly.
- Use Phillips Screw Driver and hold post in place.
- Use a pair of Pliers & hold the plastic black Knob.
- Unscrew the Post from Knob.
- Remove the Post & remove the Washer from the Post.
- Install new Washer after Lubricating (Krytox Recommended)
Important: concave site towards the head of the Post (Phillips side).
use magnifier if you need else use your fingers and rub to determine.
- Insert Post back to the Quik Bleed Stainless Body.
- Insert the Spring on the other Side.
- Present the Knob & Screw the Post back into it.
no need to over tighten the post & knob,
the high pressure will do the job of sealing.
(Proprietary Micro Surfacing/Machining is at work.)
--- You are done !!
This procedure should not take more than a few minutes
not counting the Ultra Sonic cleaning if used.
Pneumatic Fill Overhaul Procedure
- Crack the Yoke open using a bench & open,
- Remove the Piston's O-Ring
- Clean both Chamber & Piston (Ultra Sonic Clean if possible)
- Lubricate both using our NanoLubes found on www.Nano-Oil.com wipe off excess NanoLube /
Nano-Oil after a few conditioning Cycles without the O-Ring
- Replace the Piston O-Ring after lubricating such (Krytox Recommended)
- Lubricate Chamber & Piston (Krytox Recommended) remove excess.
- Reassemble.
----- You are Done !!
This procedure should not take more than a few minutes
not counting the Ultra Sonic cleaning if used.